1. Firstly, you need to download and install the trial version of XFCut from here, (or click Download in the Menu above). No need to uninstall if you already have the trial version installed.
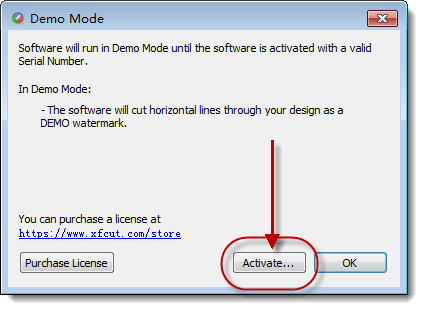
The trial version of the software stays fully functional with some minor functional limitations. During all trial period the dialog like displayed below will appear.
2. Run the downloaded setup file and follow the installation wizard instructions.
To activate your newly purchased copy of XFCut, perform the following steps:
1. Start XFCut and press "Activate…" button (or go to Help > Activate...) to open the activation wizard. Please make sure it is connected to the internet. This process is the same for Windows and Mac.
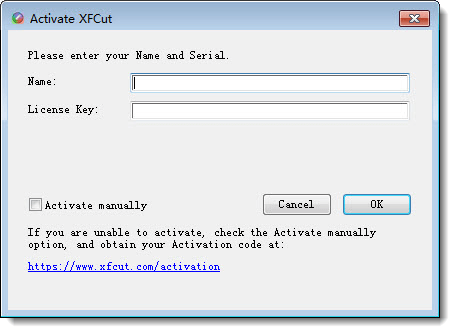
2. Enter your name and license key with 30-digit license key with the dashes included. then click "OK" to complete the activation.
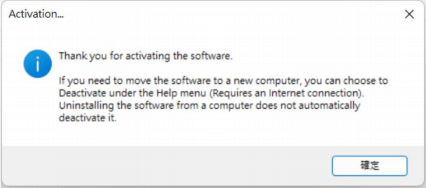
3. Congratulations! You have successfully activated XFCut.
1. If your computer does not have Internet access, you will need to activate it manually. Check the "Activate manually" option. Once checked, you should see the Site Code and Activation Code fields appear.
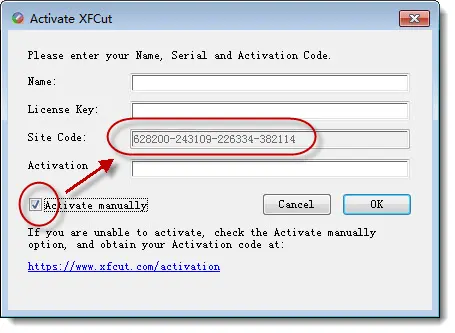
2. Please send your Site Code to our technical support team at support@xfcut.com, Our support staff will generate your activation code manually and send it to your email.
3. Copy the Activation Code from your email, and back into the program's activation dialog box and click OK.
If you are getting an error that the license has been used too many times, deactivate the license on the previous installation if possible via the Deactivate option under the Help menu in XFCut.